.jpg)
My Model T Restoration Project
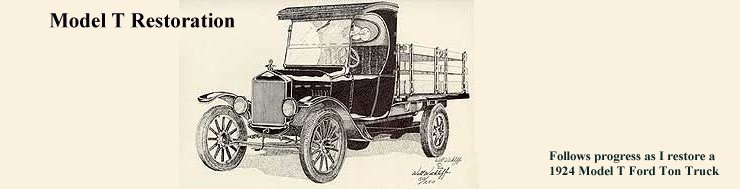
This blog allows you to follow the progress as I reassemble a 1924 Model T Ford C Cab Ton Truck. This truck was purchased new by my Grandfather and used by him and my father and uncle as they farmed in western Kansas from 1924 until it was retired from use sometime in the 1940s.
Here's what the Model T looked like when I brought it back from Kansas in 2004. As you can see, it was in pretty good shape and all complete. It was virtually all original, and was last driven in the early to mid sixties. It had been stored indoors from then until I brought it to New Mexico, but had set outside on the farm prior to that. Bob and I used to play in it when we were growing up in the fifties. I don't know if it was garaged in its early life or not. My Grandpa, Arthur Wiles, bought it new in 1924, and my dad, Earl, drove it on the farm when he was growing up.
 I started taking it apart about two years ago. This picture shows it with the hood and bed removed.
 And this one shows all the sheet metal removed. The cab is still sitting on the chassis, but it has been unbolted from the frame and moved to the rear.
 A closeup of the engine and transmission just before they were removed.
 I found a retired machinist who specialized in rebuilding Model T engines and transmissions. This shows him with the engine when I went to pick it up after he finished rebuilding it.
 I took all the sheet metal parts to a company called "The Gentle Stripper", where they bead blasted them. Then they went to Sunport Restorations, a body shop that specialized in restoring sheet metal. There all the parts were straightened, the rusted areas were cut out and repaired, and everything was painted gloss black. Here's the cab after I brought it home.
 I also took the larger pieces like the frame, front and rear axles, springs, etc. to be sandblasted at Albuquerque Monument Company. Unfortunately, they were not quite as gentle there. The parts were clean when I brought them home, but the rear axle had been handled pretty roughly. The radius rods were dented and the brake backing plates were bent.
After I brought the chassis parts home, I painted them black with POR15, a specialized (as in EXPENSIVE) paint that dries very hard.
Finally the weather warmed up enough in mid-January that I can work in the garage without freezing. I started the reassembly process. After mounting the tires and reassembling the wheels, I finally have a rolling chassis !!!
 Today I cleaned up the Warford auxiliary transmission and bolted it on behind the Model T transmission.
 So, that brings us up to date. The project for tomorrow is to install the engine and transmission into the chassis. More to follow .......

Wow! I'm so impressed, and will look forward to seeing the finished product. Good work, Larry!
ReplyDeleteThanks for sharing this with us.
Really impressive, Larry. I remember playing in it when it was parked across the road. Usually half covered with tumbleweeds. I don't remember who was helping Dad when he got it up to rebuild for the Kansas Centennial and how pleased he was when they got it to run. Glad to have you join the blog community.
ReplyDeleteI remember going for a very short ride in it with Grandpa - must have been late seventies? The mouse-eaten seats always kind of freaked me out. It will be fun to follow your progress!
ReplyDeleteGreat progress Larry and really good step by step progress. Sure great to have the pictures showing how you have done a real good job of restoring the model T. We are in the 60's and maybe 70's tomorrow with a weekend front coming with hopefully some moisture. Wish I could be there to help but am not any good to do things anymore. Thanks for the blog and keep us posted.
ReplyDelete